Getting started
WhenTap adds native scheduling to your Webflow site. Visitors book on your own domain, each booking is written back to your Webflow CMS, and, if you take payment, the money goes straight to your own Stripe account. This page gets you from nothing to a live booking widget.
There are four steps: connect Webflow, decide what people book, embed the widget, and (optionally) connect your calendar and Stripe. Most sites are live in about ten minutes.
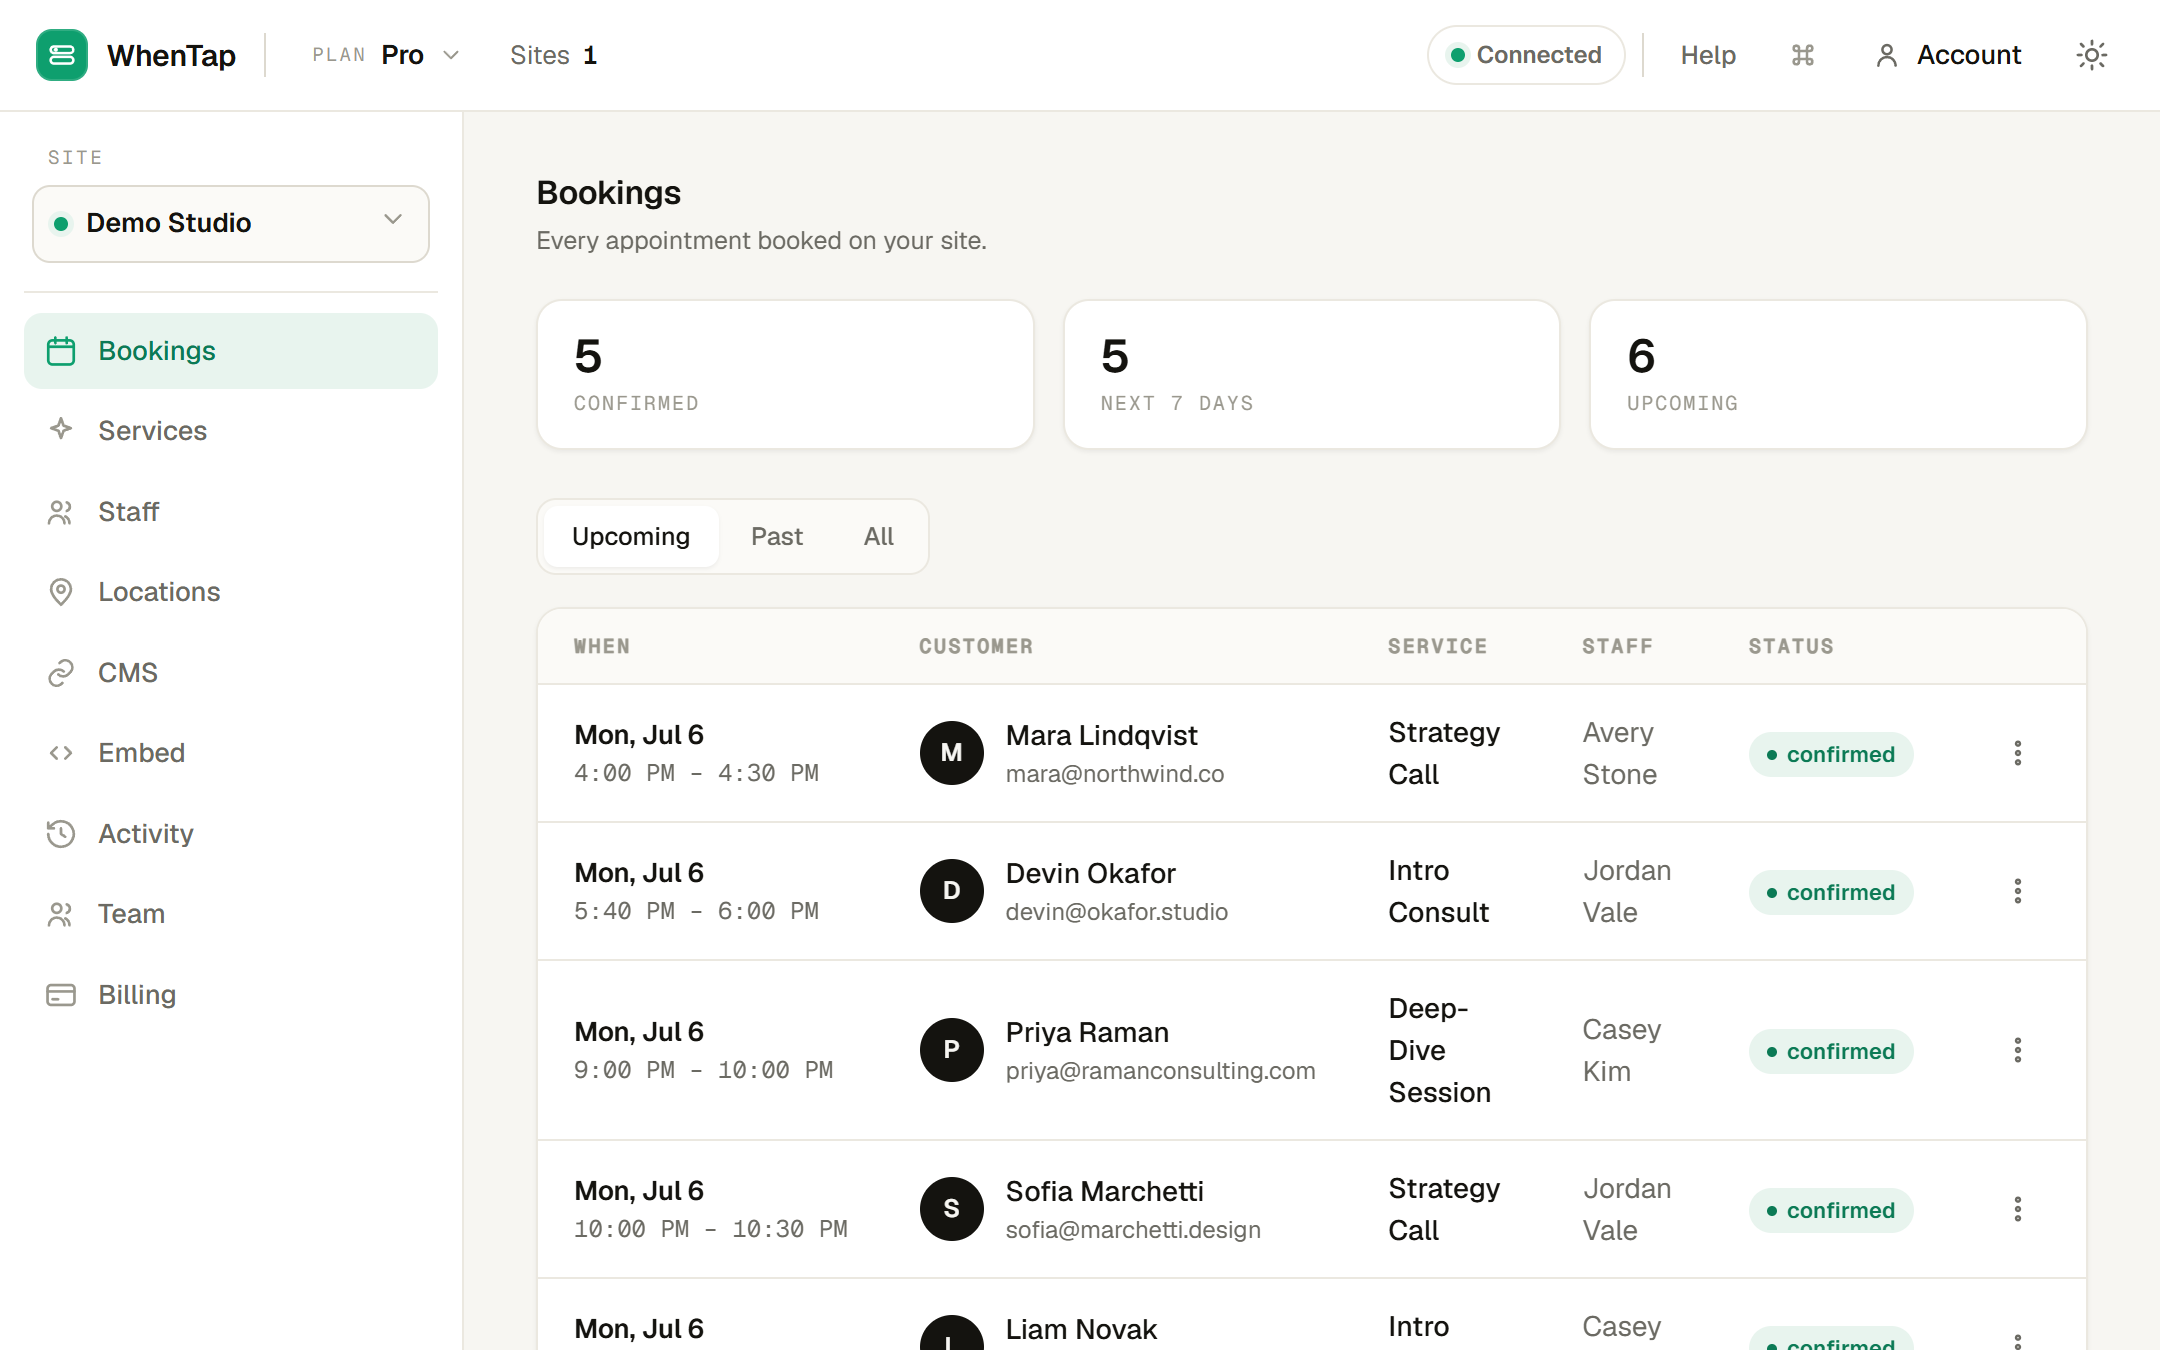
1. Connect Webflow
Open app.whentap.com and click Connect Webflow. You authorize WhenTap on your Webflow workspace and choose which site to connect. WhenTap requests the scopes it needs to read your site and CMS, write CMS items, and read your account details: authorized_user:read, sites:read, cms:read, cms:write and forms:read.
On connect, WhenTap registers webhooks on your site so that edits to your CMS Collections sync within seconds. If a webhook is ever missed, a safety-net resync re-reads every mapped Collection every fifteen minutes, so bookable resources never drift out of date.
How many sites you can connect depends on your plan: Starter connects one site, Growth two, Pro five, and Agency as many as you like. See Billing & plans.
2. Decide what people book
In the panel, add the things visitors will book:
- Services are what someone books, a call, a class, a treatment, with a duration, buffers, and how far in advance they can book.
- Staff are who takes the bookings (a person, a room, or any resource), each with their own weekly hours and timezone.
- Locations describe where it happens: in person, online, by phone, or "we come to you". They are optional.
You can create these by hand, or map them from Collections you already keep in Webflow, so your site stays the source of truth. See Services, staff & availability.
3. Embed the widget
Go to Embed in the panel, choose a service (and optionally a specific staff member), and copy the one-line script tag. Paste it into a Webflow Embed element on any page. A self-sizing booking widget appears, on your own domain, in your own design, in light or dark. There is no redirect to a WhenTap or Calendly page.
See Embedding the widget for the details, including a shareable direct link if you would rather link than embed.
4. Connect your calendar and Stripe (optional)
Two connections make WhenTap much more useful, but neither is required to take bookings:
- Calendars. Connect each staff member's Google or Outlook calendar so their busy times block slots and new bookings land on their calendar automatically. See Connecting Google & Outlook.
- Stripe. Connect your own Stripe account to charge for paid services. Money pays out straight to you, and WhenTap takes 0% of the booking. See Taking payments with Stripe.
What happens when someone books
Once you are live, a booking on your site does all of this on its own: the slot is re-checked so it cannot be double-booked, a confirmation is emailed to the customer, the booking is added to the staff member's calendar, and it is written back to your Webflow CMS as an item. If you take payment, the booking confirms after the customer pays. See How booking works for the full sequence.